My sister was recently kind enough to bring over a bit of her (now famous!) chocolate peanut butter bark. Let me tell you folks, this snack might be the best sweet treat ever - but I'll let you try it out, and then tell me I'm right! LOL Anyhow, it may be one of the easiest food crafts I've ever tried, plus it has the added benefit of being both beautiful and super tasty! It's almost too pretty to eat. Almost...
 Ingredients -
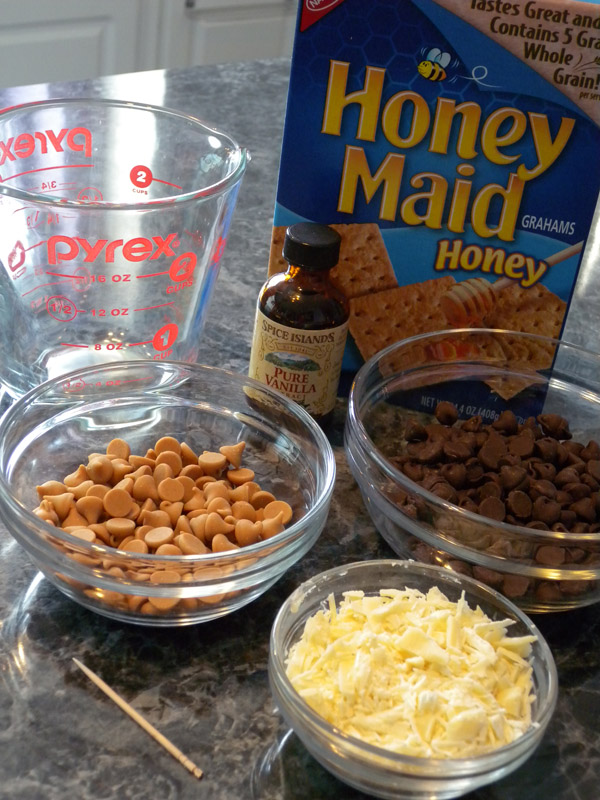
- Graham crackers (appx. 14, depending on baking sheet size)
- 6 oz semi-sweet chocolate chips
- 1/2 cup peanut butter (I like chips, as they're easier to measure and melt)
- 3 oz white chocolate
- 1/2 tsp real vanilla extract* (I added this myself, as I add vanilla to all desserts!)
(Prepare tools & ingredients before assembling! As it finishes faster than a freight train, and you'll want everything right at hand.)
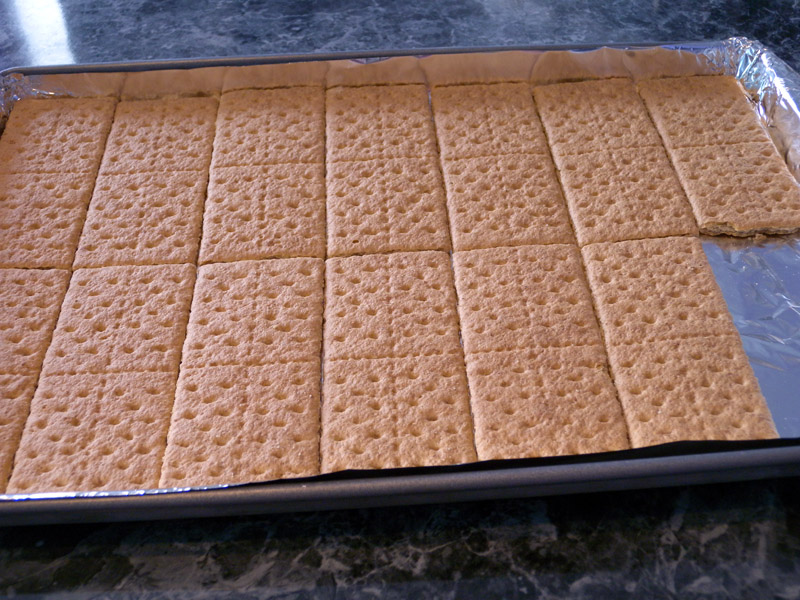
Line a 9x13 baking sheet with foil, making sure to cover handles. Layer grahams onto sheet, covering as much space as possible. I found that they fit really well this way, but your container may be a different size. (Yes, I cheesed and was one graham cracker short for my photos, please don't hold it against me!!! They taste just as good, I promise!)
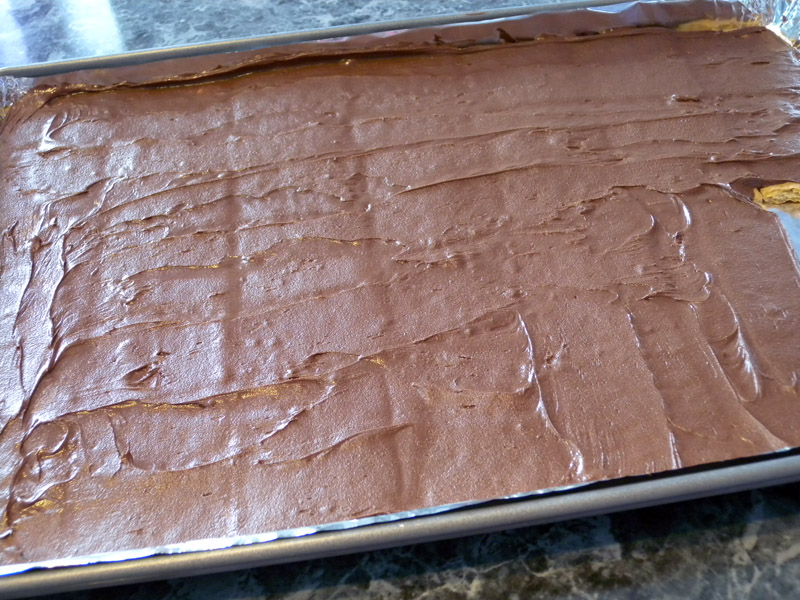
Melt semi-sweet chocolate and peanut butter, and stir til smooth (and spreadable.) Add vanilla, stir in and spread over grahams with an offset spatula, making sure to cover as evenly as possible.
Meanwhile, melt white chocolate into a small squeeze bottle (usually in the candy melt section of the craft stores,) but be sure to keep it quite warm! Chocolate can "set" in these bottles, making it impossible to squeeze; melt with the lid off, and take care to keep the spout open (I like a toothpick for this task!) You can really decorate the tops any way you like, but I prefer toothpick marbling - and here's how I do it.
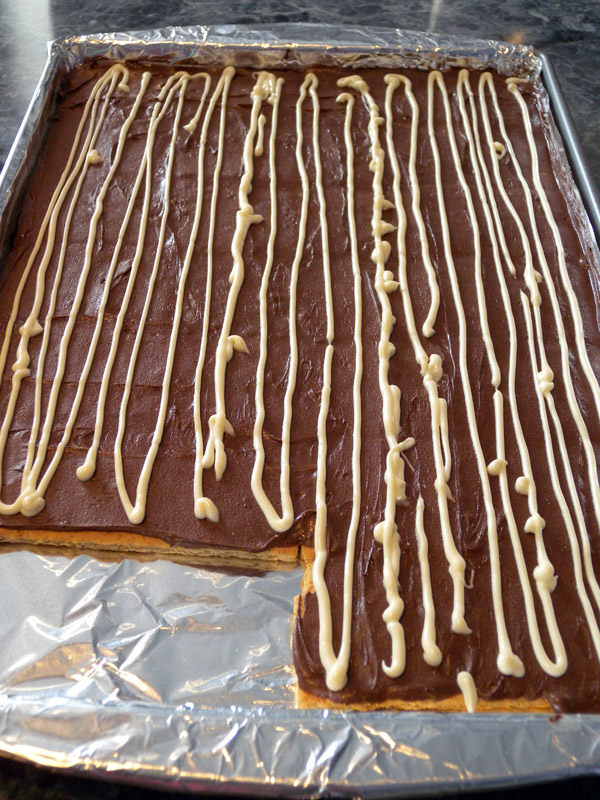 With the squeeze bottle, make vertical lines on the chocolate bark. They don't have to be perfect, but I like them better slightly closer together, for the marbling effect.
Squeeze as much out of the bottle as you can, trust me it makes clean up easier! Be careful not to fart too much air out onto the bark though, as it makes terrible little pits in the semi-sweet! LOL
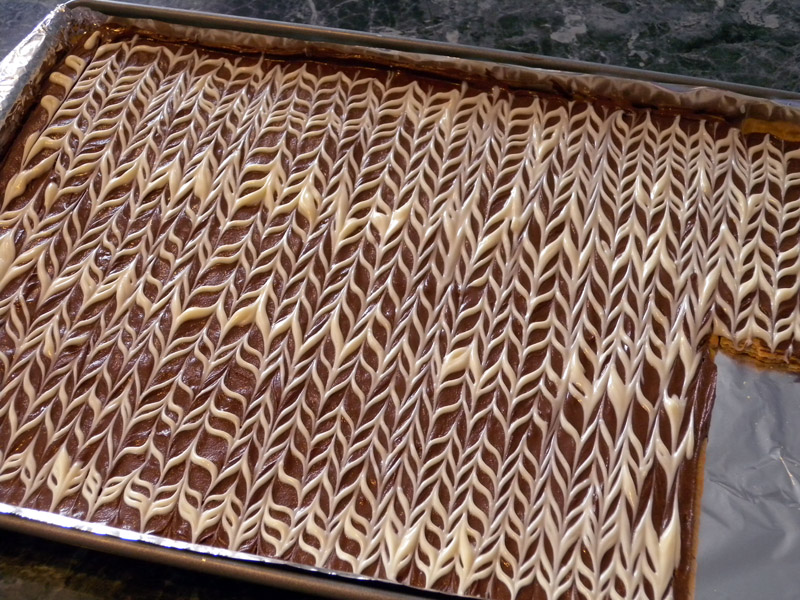
Once you've got the squeeze bottle mostly empty, take a toothpick, and run it horizontally against the vertical lines; alternating first down, and then up - to create this pretty marbled effect.

Melt semi-sweet chocolate and peanut butter, and stir til smooth (and spreadable.) Add vanilla, stir in and spread over grahams with an offset spatula, making sure to cover as evenly as possible.
Meanwhile, melt white chocolate into a small squeeze bottle (usually in the candy melt section of the craft stores,) but be sure to keep it quite warm! Chocolate can "set" in these bottles, making it impossible to squeeze; melt with the lid off, and take care to keep the spout open (I like a toothpick for this task!) You can really decorate the tops any way you like, but I prefer toothpick marbling - and here's how I do it.
With the squeeze bottle, make vertical lines on the chocolate bark. They don't have to be perfect, but I like them better slightly closer together, for the marbling effect.Squeeze as much out of the bottle as you can, trust me it makes clean up easier! Be careful not to fart too much air out onto the bark though, as it makes terrible little pits in the semi-sweet! LOL
Once you've got the squeeze bottle mostly empty, take a toothpick, and run it horizontally against the vertical lines; alternating first down, and then up - to create this pretty marbled effect.
It's so easy to do, and yet it looks so complex! Love it!
Chill in the fridge for at least 30 minutes. Cut into pieces either before or after chilling, your preference. My sister likes to keep hers in the fridge, I leave mine out on the counter. It only lasts a few days, but with chocolate and peanut butter, I dare my husband (or anyone else's, for that matter!!!) to resist... Muahahaha!
Oh my. I may have to make this, and I am no kind of cook. Yum!
ReplyDeleteHope your holidays were good!
~Radfrog