Lately I've been knitting a lot, so my other crafting has been left on the back-burner, so to speak. I've been focusing on smaller projects that take less time, that I can fit in a few minutes. Paper projects are great for this, because they don't take up too much space to work on, and because let's face it, you can get any color & texture paper you want. Those scrap-booking sections in the big craft retailers are huge!
So, I came up with this super fast and fun gift tag tutorial. It requires a couple sizes of paper punches, but they can be any shape you want (and really, you could do this with scissors & patience, too.) The hardest part here is deciding which shape and size punches look best together. I was slightly limited by the fact that I only own a handful, but I still think I picked the best coordinating pair.
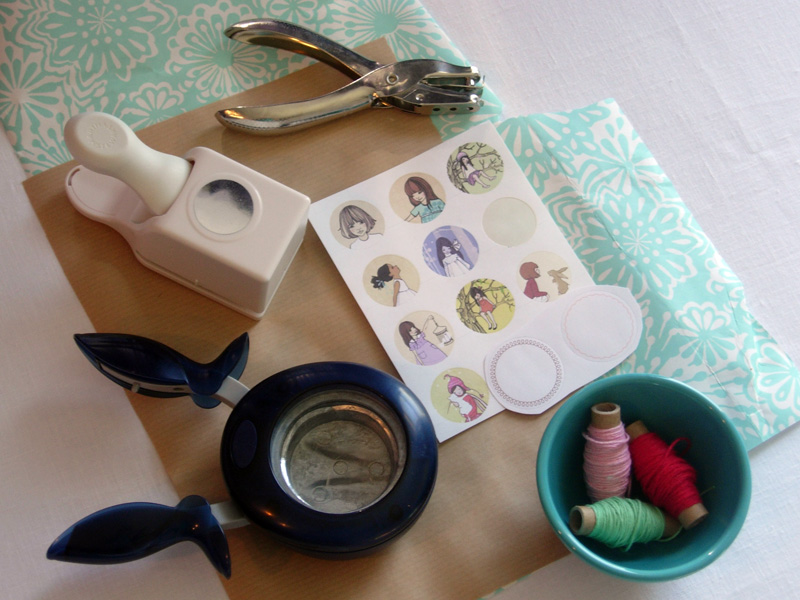
Materials:
- Paper punches in two (or more,) sizes. Can be complimentary or contrasting shapes.
- Sticker machine, glue stick or double sided tape
- Hole punch (size is your preference)
- Coordinating ribbon or twine to attach to package
- Regular or decorative pens (for names, you can also use rub-on lettering, but I'm not that good with getting it lined up right!)
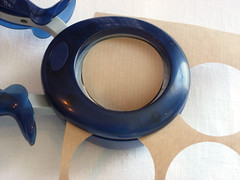 First, use the larger punch to create a base. I recommend simpler paper, if you're using the more decorative on top. But really, you can use any paper or card-stock that suits your taste. Here I used simple brown, light weight craft paper.
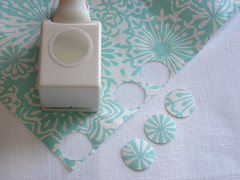 Next, use the smaller punch and a more interestingly patterned paper. It can be contrasting or complimentary, again anything that suits you! I like re-using gift wrap paper for this, I always hate to throw away pretty paper like this!
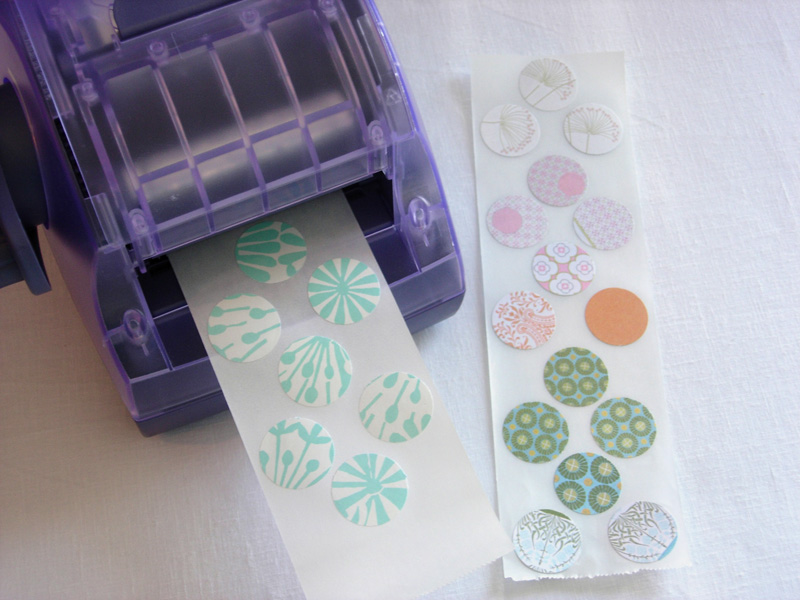
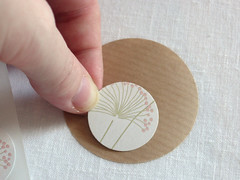 When piecing the two together, you can use a sticker machine* to add a thin layer of adhesive to the back of the top paper; or you can use double-sided tape to adhere them. If you're thinking of using glue for this - I'll caution you - don't use too much, or you might get rippling in one or both layers of your tag. You can also use a glue stick for this, it's probably easier to handle than regular glue, anyway!! *If you're using a sticker machine, I find slightly thicker paper works better than thinner. I've had some rippling issues, and who likes ripply-weird abnormal stickers?!? Hehe.
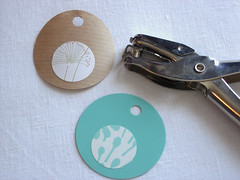 To finish, punch a hole through both layers of the tag, and use ribbon or twine to attach it to the package. Add your to: and from: names and you're done! Easy peasy! Here's a couple more examples, and I'd love to see how you use this tutorial!
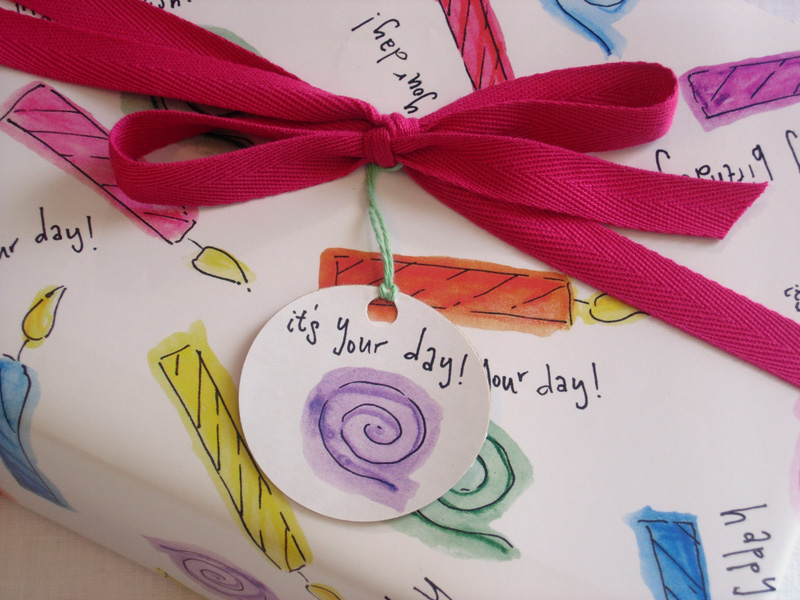
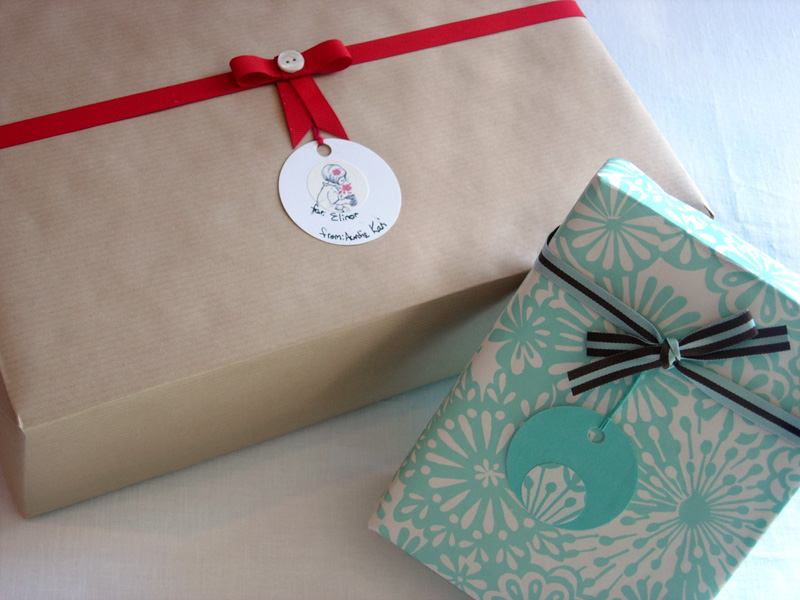
That is such a great tutorial! Thanks for that. I'm gonna bookmark this one =)
ReplyDeleteYou blow my mind. You're so crafty and all I do is knit. :)
ReplyDeleteGreat tutorial - simple and stylish!
ReplyDeleteAnd thanks for the idea of reusing gift wrap to make these; I always think it's a shame to throw the pretty paper away but I never know what to do with it.
On the spur of a moment I bought a sticker machine with refill some weeks ago. Almost regretted it because it fills my drawer (like so much other craft stuff).
ReplyDeleteNow I know why I bought it - reusing those pretty papers.
Thanks!
:-Tally-:
This is SO fabulous! I'm thrilled I discovered your blog! I'll be linking to this and adding you so I don't miss a thing!
ReplyDeletei need to find that large circle punch. pretty nifty!
ReplyDeleteCute tutorial!! I think I need a circle punch and a sticker maker now!! :D
ReplyDeleteThis looks great! Thanks for sharing. :)
ReplyDeleteThis is great! Where did you get your decorative paper?
ReplyDeletehi! love your tutorial.. hmm. what's the purple machine? what does it do?
ReplyDelete