I couldn't stand the fact that a lot of upscale sellers charged around 5$ for their bombs - meaning that the bath it was used in, would cost 5$ each! I was absolutely determined to lower that number, of cost per bomb, and didn't mind getting a little (ok, a LOT!) dirty in the process. I'd love to share what I've learned with this immensely wonderful crafting community! (Ok, so this isn't the first bath bomb tut out there, but it's my first attempt at a tutorial, so bear with me please!)
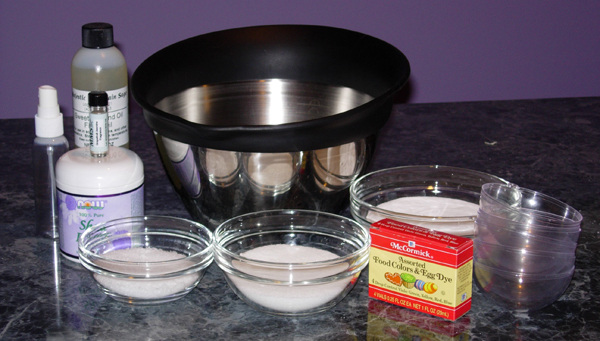
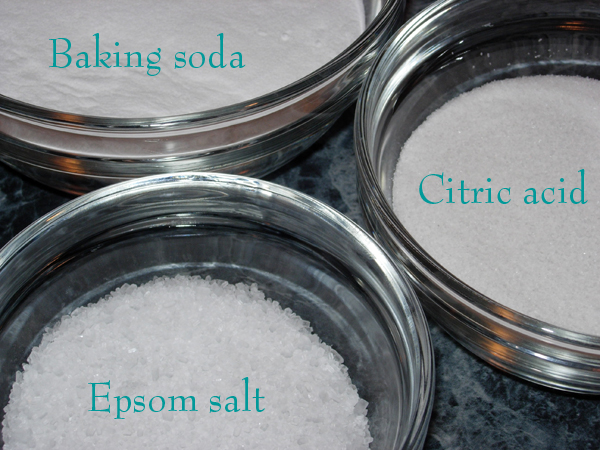
1 cup baking soda
1/2 cup citric acid*
1/3 cup Epsom salts
1 Tbsp Shea butter
1 Tsp Sweet Almond oil
1/2 Tsp fragrance or essential oil
3/4 Tsp water
Food coloring (if desired!)
Small spray bottle
Mold of desired shape (round halves, or candy molds)
 Start by adding all of the dry stuff together (baking soda, citric acid, Epsom salts,) in a large mixing bowl. Then add Shea butter, almond oil & fragrance or essential oil. Mix these VERY thoroughly, until the mixture feels dry & light.
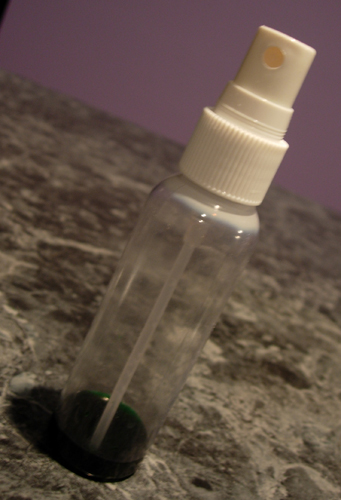 Next, if you're using coloring, add 5+ drops to 3/4 Tsp water in the small spray bottle. Spray a couple times onto the mixture, and mix immediately. This is the crucial step, because water will set off the chemical reaction between the baking soda and the citric acid. Spray very sparingly, and mix in between. The idea here is to add enough water to the mixture so it can be molded, but add too much and you're in trouble!
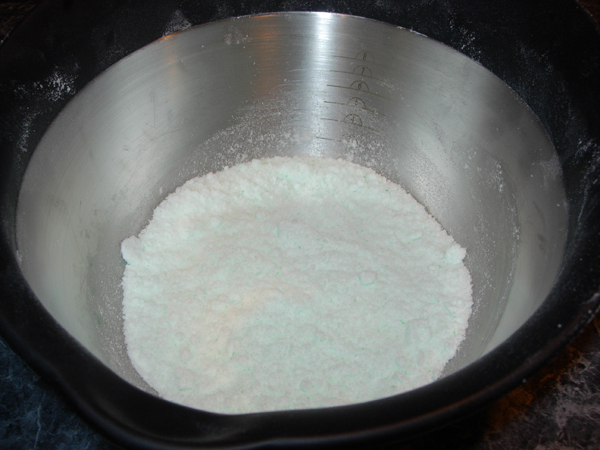 A good tip for beginners; try dividing the dry ingredients into 2 bowls before you spray in the water. If you add too much water, you can save the batch by adding more dry mixture, and mixing until the reaction has been neutralized (an easy way to tell is to stick you ear into the bowl, if it's crackling it's still reacting.) With practice, you'll get a feel for just how moist the mixture needs to be before it will hold it's shape when molded. Another tip - using 2 round halves to make a sphere produces the strongest bath bombs. Other shapes are possible, but can be tricky to apply enough pressure on, and to un-mold.
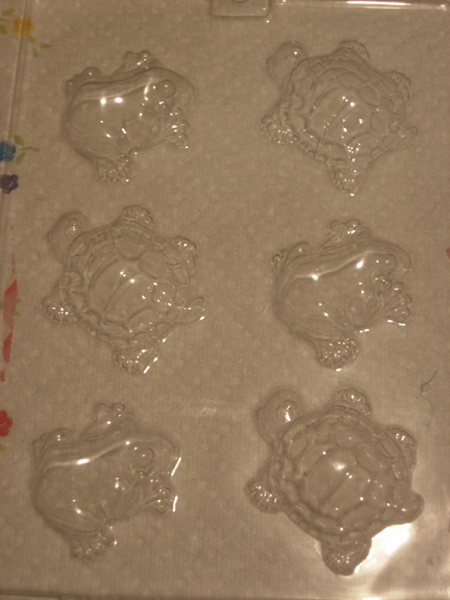 Once you've got enough water, you can put the dry mixture into molds. Make sure they're clean & dry before you start - don't want anything sticking! The key to this step is pressure - the more pressure you apply, the stronger it'll hold itself together. If you're using 2 round halves, fill them both, then add more mixture to the tops, and push together. Smooth the "seam" as you go, and then set aside as you mold the rest of the mixture.
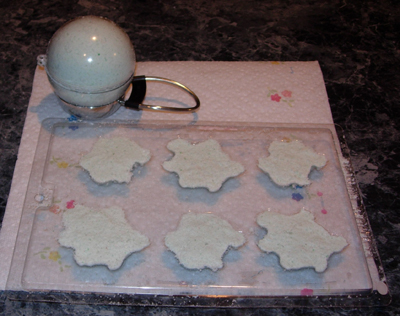 After a few minutes you can un-mold your new bath bombs. Gently squeeze the mold, then you should be able to lift it off easily. Smaller shapes with lots of details can be hard to un-mold, but patience is the key. If you accidentally crush the bomb, you can add a tiny bit more water, mix thoroughly and re-mold. Let them dry overnight, then wrap with plastic wrap.
Voila! Bath bombs that cost less then 5$ each! The yield of this recipe (how many bombs you'll get,) varies with how much mixture you stuff in the molds, and the size molds you use. Larger molds = larger bombs and smaller molds = smaller bombs. I usually get 1 giant and 6 mini bombs from this recipe (the giant ones are softball sized!) You could probably get 20+ small sized bombs!

One more suggestion, if you have a small tub, use smaller molds. These bombs can leave the tub slippery, and so it's better to start with less oil in the tub, and work up to more. Good luck! I'd love to see pics if you make bombs of your own! (Also, feel free to ask if you any questions!) The frogs pictured here turned out well, but the turtles were very shallow and the legs break off very easily.
*Citric acid can be very hard to find, I'd recommend buying it online. I like Majestic Mountain Sage, they have lots of fragrance oils, no minimum purchase and shipping is actual cost. I must also mention their Jasmine fragrance oil is AMAZING!
Also, if Shea butter is expensive or hard to find, you can substitute cocoa butter or mango butter.
Please make sure you're not allergic to any of these ingredients before you use them! And be careful getting out of the tub, it can be very slippery!
Wow, you go girl, the bath bombs look great, and I imagine they smell even better! Thanks for taking the time to write a tutorial...I'm tempted to try it, hehe.
ReplyDeletethis is genius. awesome! if you don't mind i've linked this entry from my blog!
ReplyDeletewow..take it easy there on the biz people....not all of us charge five dollars for a bomb? lol.....so many tut on line is the way i learned to make and add bath bombs to my lineof products so keep up the good work
ReplyDelete